
Welcome back to the second part of our AWS SES tutorial. If you are just joining the series, make sure to check our previous article where we covered how to set up AWS SES to send emails from your application using a custom domain, including DNS configuration, identity verification, and integration with Symfony Mailer.
In this second part, we'll be taking a look at how to receive emails with AWS SES. We'll cover:
- Configuring DNS
- To have Amazon SES manage incoming email, we will add an MX record to the domain's DNS configuration. The MX record that we create will refer to the endpoint that receives email for the AWS Region where we will use Amazon SES.
- Creating rule sets
- Rule sets in AWS SES define how incoming emails are processed. We'll set up a rule set that specifies actions like saving emails to an S3 bucket, forwarding them, or triggering a Lambda function.
- Configuring rules
- We'll configure some rules to handle incoming emails. These could include saving emails to an S3 bucket, triggering a Lambda function, forwarding emails, or filtering out unwanted messages.
- Setting up an S3 bucket
- We will configure Amazon SES to store all incoming emails to S3 bucket for further processing.
Let's dive in!
DNS Configuration
An MX (Mail Exchanger) record tells other mail servers where to send emails for your domain. To let Amazon SES handle incoming emails, we need to add an MX record to our domain's DNS settings.
First, we need to log in to our DNS provider’s management console. In the DNS records section we will look for the option to create a new MX record.
In the 'Name' field, we enter @ for our root domain or the name of our subdomain (e.g., ses-test) to apply the MX record to either the root domain or a specific subdomain. We choose 'MX' as the type - this simply tells other servers it's for email routing.
In the Value (Mail server) field, we add the following line:
10 inbound-smtp.region.amazonaws.comregion should be replaced with our AWS SES region (e.g., us-east-1 for Virginia). The number '10' represents priority, where lower values indicate higher priority. After saving, this record directs email servers to send messages to Amazon SES. For our example, MX record looks like this:
10 inbound-smtp.eu-central-1.amazonaws.com
Rule Sets
Rule sets in AWS SES help us receive emails for our domain through Amazon SES. By adding MX records to our DNS settings, we can direct incoming emails to SES for processing.
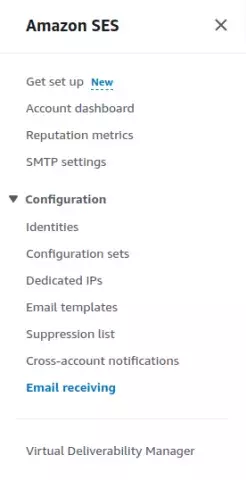
To get started, we log in to the AWS SES dashboard. From the sidebar menu, we click on "Email receiving" - this will take us to the setup page where we can configure all the steps.
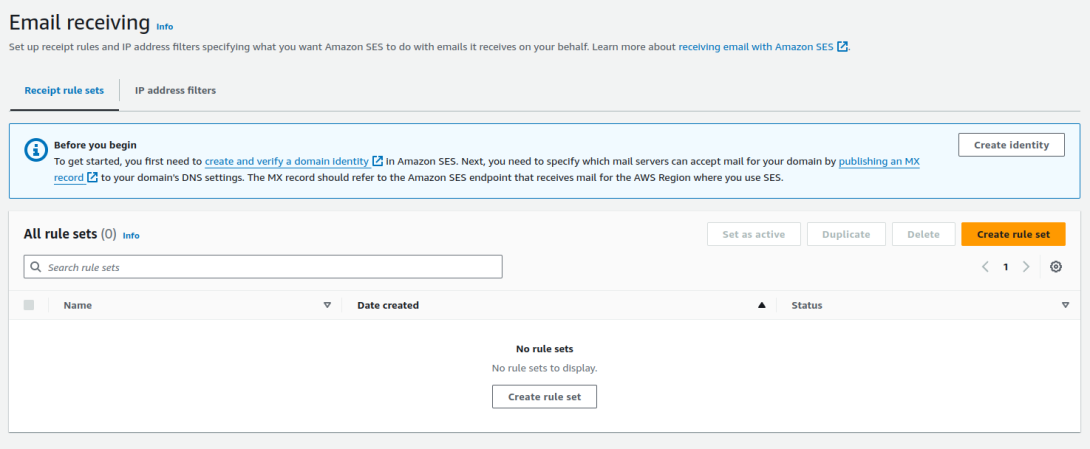
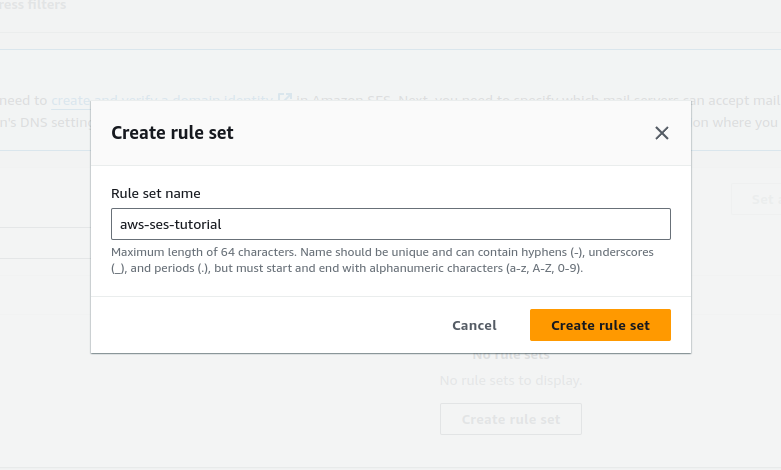
Clicking on "Create Rule Set" will bring up the modal box where we will provide a name for the rule set. We need to ensure our rule set is set to active, as only one rule set can be activated at a time.
Once our rule set is activated, we can set the conditions for incoming emails and decide how they should be handled.
Rule Creation
AWS SES rules help us automate email processing by setting conditions - like recipient addresses or email content - and actions, such as forwarding or archiving.
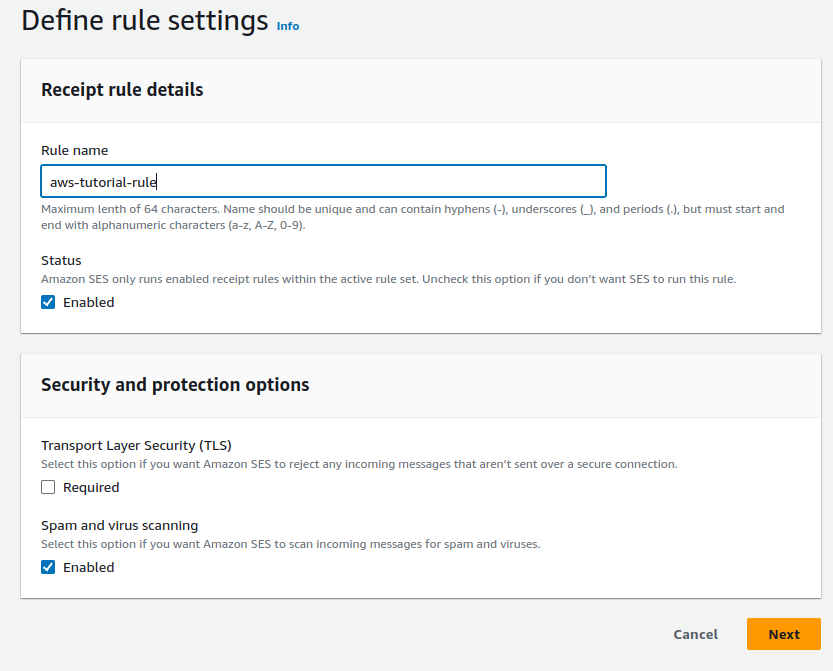
To create a rule, we click the "Create Rule" button in our active rule set, enter a name, and move on to the next step. Here, we can specify actions for handling incoming emails based on the conditions we define.
Rules tell Amazon SES how to handle incoming emails when they meet the defined conditions. By setting conditions and corresponding actions, we can automate tasks like filtering, forwarding, or archiving, which makes handling emails more efficient and consistent.
When setting the recipient condition, we add the verified identity linked to our MX records so that the rule only applies to specific recipients.
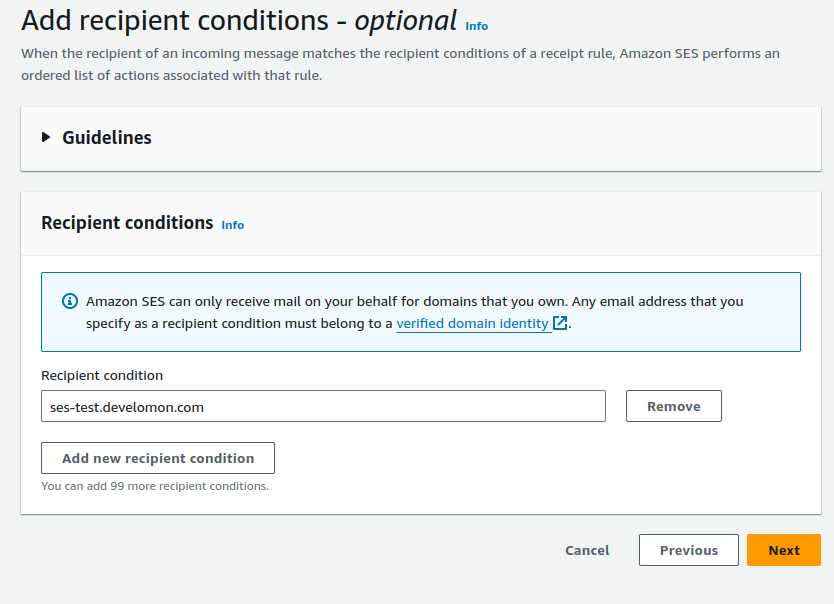
Setting recipient conditions ensures the rule is only applied to the intended emails. If no recipient conditions are defined, the actions will apply to all addresses, domains, and subdomains linked to the verified domain.
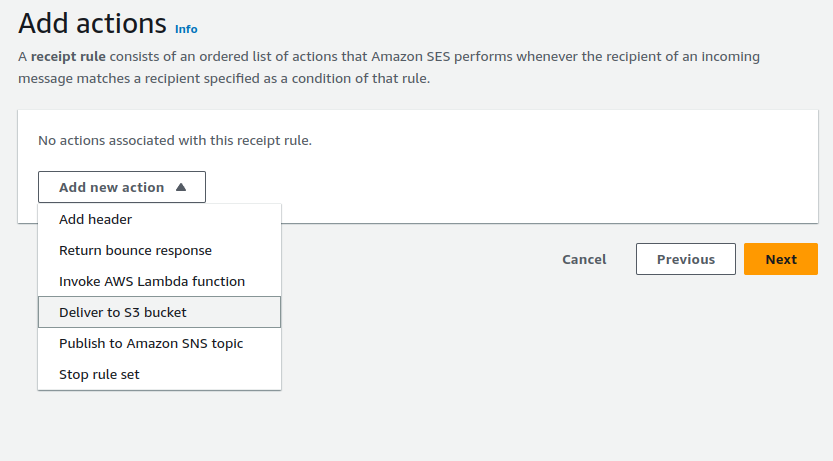
Finally, we choose an action for the rule. In this example, we select the S3 bucket option to store large emails, which also integrates well with other AWS services like Lambda. This way, emails matching the conditions are saved in the specified bucket for further processing or archiving.
S3 bucket configuration
Once we've chosen S3 as our action, the next step is to specify the S3 bucket where incoming emails will be delivered.
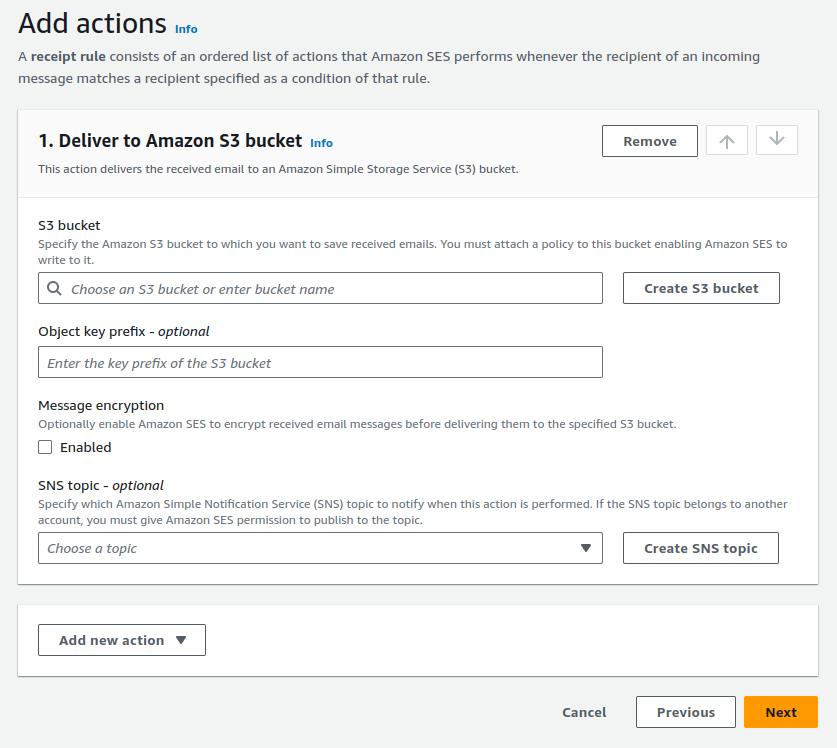
If we haven't created a bucket yet, we can simply click the "Create S3 bucket" button in the AWS SES interface.
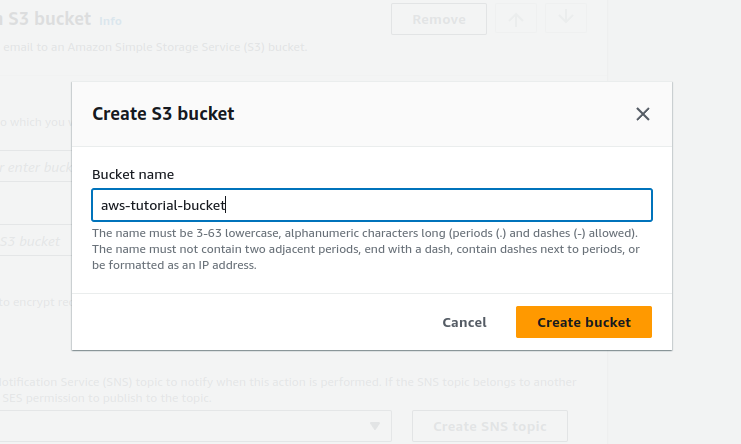
We should write a descriptive name for our bucket, ensuring it reflects its purpose of storing email data. Once created, we navigate back to the SES configuration and choose our newly created bucket as the destination for incoming emails.
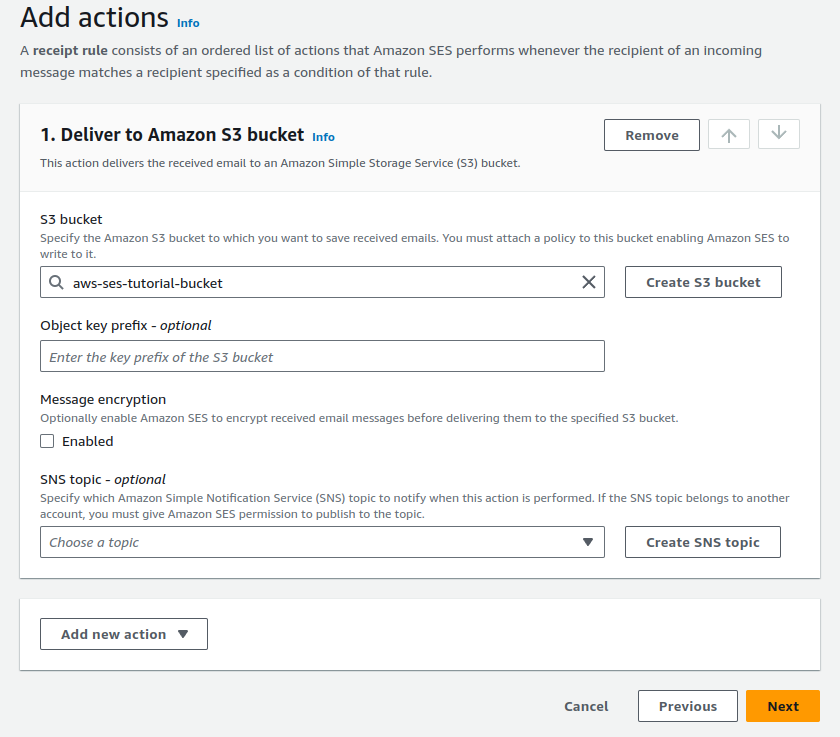
When setting up the bucket, it's important to review and adjust any optional fields based on our needs. While most settings can remain at their defaults, we might consider enabling features like versioning or encryption for added data protection.
To test our receiving rules, we go to the verified identity and click on the "Send test email" button. We choose "Custom" and add the email address with the domain we want to test.

After sending the test email, we can check the bucket to verify that the email has arrived. Keep in mind that it might take a few minutes for it to show up.

And there you have it! By following these steps, we're now ready to start receiving emails directly into our designated S3 bucket, leveraging the robust storage capabilities of Amazon S3 for efficient email management.
Get a Free Consultation
Setting up Amazon AWS Simple Email Service for sending or receiving emails can be complex. Our experts are here to help! Whether you need assistance or prefer to have someone manage the setup for you, contact us today to schedule your free consultation and streamline your email solutions.


